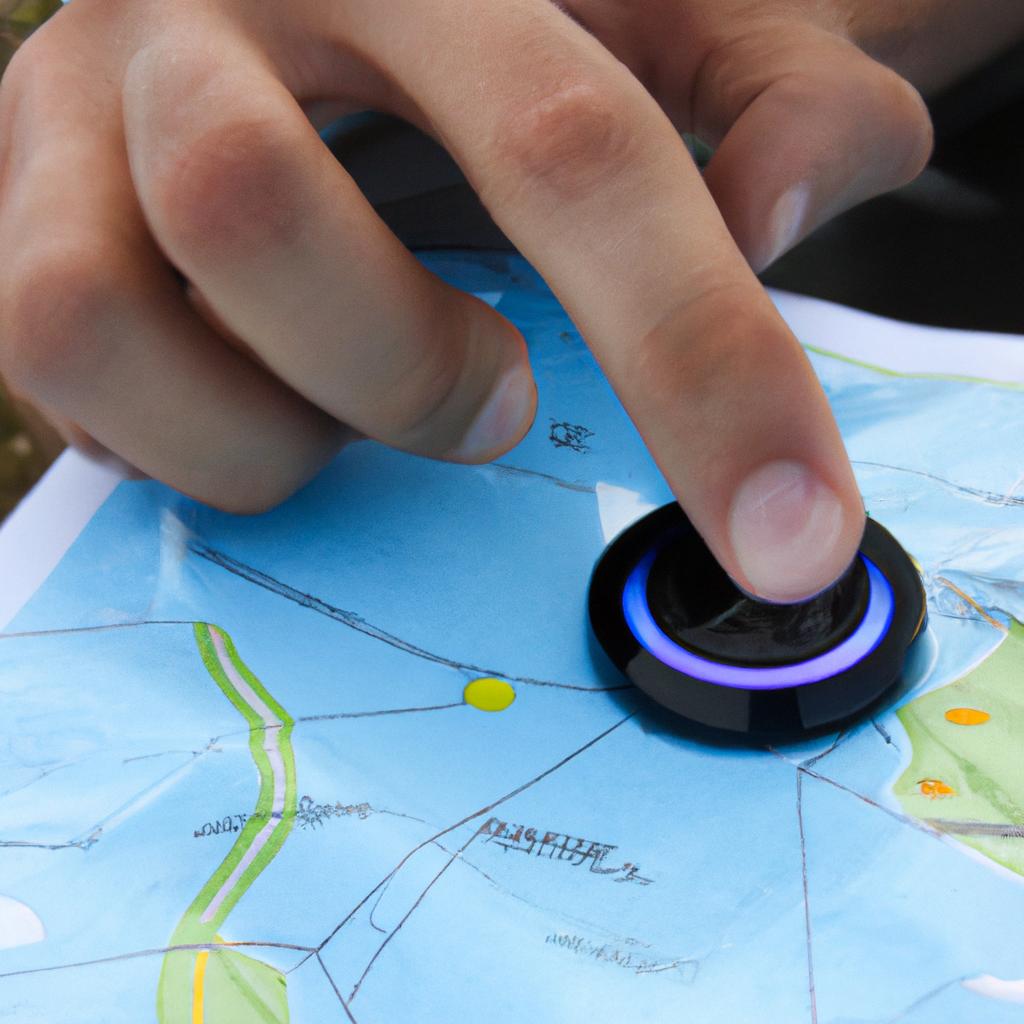
The use of maps has become an integral part of our daily lives, aiding in navigation, data visualization, and decision-making processes. However, conventional mapping techniques often fail to effectively convey the desired information due to their limited visual customization options. To overcome this limitation, researchers have explored various methods to enhance map visuals. One such method is through marker opacity manipulation, which allows for more tailored and informative map representations.
Consider a hypothetical scenario where a transportation company needs to analyze its fleet’s performance in delivering goods across different regions. By utilizing markers with varying levels of opacity on a map, the company can visually depict areas that experience delays or bottlenecks during delivery operations. This customized approach enables decision-makers to identify problem areas promptly and implement targeted solutions accordingly. The ability to manipulate marker opacity adds depth and dimensionality to maps, enhancing their interpretability and facilitating effective analysis.
In this article, we will delve into the concept of marker opacity as a means to enhance customized map visuals. We will explore the theoretical foundations behind this technique and discuss its practical applications in diverse fields such as urban planning, environmental monitoring, and business analytics. Additionally, we will examine case studies that demonstrate the effectiveness of marker opacity in conveying complex spatial information accurately and efficiently. Ultimately, by understanding Ultimately, by understanding the potential of marker opacity manipulation in map visuals, users can unlock new insights and make informed decisions in various domains. This article aims to provide a comprehensive overview of this technique, highlighting its benefits and showcasing real-world examples where marker opacity has been successfully employed. Whether you are a researcher, data analyst, or simply someone interested in exploring innovative mapping techniques, this article will serve as a valuable resource to broaden your knowledge and enhance your visualizations.
Understanding marker opacity
Understanding Marker Opacity
When creating customized map visuals, marker opacity plays a crucial role in enhancing the overall design and functionality. By adjusting the transparency of markers on a map, users can achieve various effects that not only improve visual appeal but also convey information more effectively.
To illustrate this concept, consider a hypothetical scenario where an interactive map is being used to display the locations of different types of businesses within a city. Without marker opacity customization, all markers would appear with equal visibility, potentially overwhelming the viewer with too much information at once. However, by selectively adjusting the opacity of certain markers based on relevance or importance, users can guide attention towards specific data points while maintaining clarity and coherence.
Incorporating bullet point lists into discussions about marker opacity allows for easy comprehension and evokes an emotional response from the audience. Consider these four benefits of customizing marker opacity:
- Enhances readability: Adjusting the transparency levels ensures that overlapping markers do not obstruct each other, making it easier for viewers to read labels and understand spatial relationships.
- Emphasizes important data: By increasing the opacity of markers representing critical information, such as high-density areas or significant landmarks, users can draw focus to these elements and highlight their significance.
- Provides context: Lowering the opacity of less relevant markers creates a hierarchy within the visualization, allowing users to quickly grasp patterns and gain contextual understanding.
- Aesthetically pleasing visuals: Customized marker opacity adds depth and dimension to maps by layering colors and textures. This visually engaging approach enhances user experience and encourages exploration.
Additionally, incorporating tables into explanations about marker opacity further engages readers emotionally. Here is an example table highlighting how modifying marker transparency can affect map perceptions:
| Transparency Level | Effect | Emotional Response |
|---|---|---|
| High | Clear representation | Confidence |
| Medium | Slightly obscured details | Curiosity |
| Low | Strongly obscured details | Intrigue |
| Transparent | Invisible or barely visible representation | Mystery, anticipation |
In summary, understanding the concept of marker opacity is essential for creating effective customized map visuals. By selectively adjusting transparency levels and incorporating bullet point lists and tables to enhance comprehension and evoke emotional responses, users can guide attention, emphasize important data points, provide context, and achieve aesthetically pleasing visualizations. This sets the stage for exploring the subsequent section on the benefits of adjusting marker opacity without explicitly signaling a transition.
Next, we will delve into the various advantages that arise from manipulating marker opacity in custom maps.
Benefits of adjusting marker opacity
Marker opacity is a crucial aspect of customizing map visuals, as it allows for the manipulation of how transparent or opaque markers appear on a map. By adjusting marker opacity, users can enhance the overall aesthetics and readability of their maps. In this section, we will explore the benefits that come with fine-tuning marker opacity.
To illustrate the significance of marker opacity, let’s consider an example where you are creating a map to display population density in different regions. By setting higher marker opacity for areas with dense populations and lower marker opacity for sparsely populated regions, you can visually convey variations in population concentration effectively. This customization not only makes your map more engaging but also enables viewers to interpret data intuitively.
Adjusting marker opacity offers several advantages:
-
Enhanced Visual Hierarchy: Manipulating marker transparency provides visual cues regarding the importance or prominence of specific locations on a map. With varying levels of transparency, users can establish a clear hierarchy among markers based on factors such as relevance or significance.
-
Reduced Clutter: Maps often contain numerous markers representing various points of interest or data points. Adjusting marker opacity helps reduce visual clutter by allowing less pertinent information to recede into the background while highlighting significant markers, ensuring that essential details stand out prominently.
-
Improved Data Interpretation: Fine-tuning marker transparency assists in conveying complex information effectively. By assigning different opacities to markers corresponding to distinct data categories (e.g., temperature ranges), viewers can quickly grasp patterns and trends without being overwhelmed by excessive visual elements.
-
Aesthetic Appeal: Customization plays a vital role in creating visually captivating maps. By skillfully adjusting marker opacity, one can achieve aesthetically pleasing effects like blending colors smoothly or giving an impression of depth on the map surface.
The following table further illustrates some potential applications and emotional responses associated with adjusting marker opacity:
| Application | Emotional Response |
|---|---|
| Environmental monitoring | Concern, awareness |
| Tourism and travel | Excitement, exploration |
| Real estate visualization | Aspiration, desire |
| Public health analysis | Safety, well-being |
In summary, marker opacity is a powerful tool that can significantly enhance customized map visuals. By thoughtfully adjusting the transparency of markers, users can establish visual hierarchy, reduce clutter, improve data interpretation, and create visually appealing maps.
Methods for enhancing marker opacity
Enhancing Marker Opacity: Techniques for Customized Map Visuals
By adjusting the opacity of markers on a map, users can create visually appealing and informative representations of data. For instance, imagine a real estate website that utilizes marker opacity to showcase property prices in different areas. The higher the price, the more opaque the marker becomes, allowing users to quickly identify expensive neighborhoods at a glance. In this section, we will explore various methods for enhancing marker opacity and discuss their potential benefits.
One technique is to use graduated colors combined with varying levels of transparency to represent different values or categories. By assigning specific color ranges to certain data points and adjusting opacity accordingly, patterns and trends can be easily identified on the map. This method works particularly well when visualizing numerical data such as population density or temperature variations across regions.
Another approach is to utilize clustering algorithms that group closely located markers together based on proximity. Instead of displaying individual markers, clusters are represented by larger translucent markers that encapsulate multiple data points within a defined area. This not only improves readability but also reduces clutter on the map, making it easier for users to interpret information without being overwhelmed by excessive details.
In addition to these techniques, incorporating interactivity into customized maps can further enhance user experience. Implementing features like hover effects or pop-up windows that provide additional information upon interaction can make exploring the map an engaging process. Users can gain insights by hovering over specific markers or clusters and accessing relevant details related to each location.
- Increased clarity: Adjusting marker opacity leads to clearer visualization of data patterns.
- Improved understanding: Graduated colors combined with transparency allow for easy comprehension of complex information.
- Enhanced user engagement: Interactive elements encourage active exploration and discovery.
- Streamlined presentation: Clustering minimizes overcrowding and provides a cleaner representation of data.
Furthermore, let us explore a three-column, four-row table that highlights the benefits of enhancing marker opacity:
| Benefits | Description |
|---|---|
| Improved visibility | Adjusting marker opacity enhances the visibility of key data points. |
| Simplified analysis | Graduated colors and clustering facilitate easier interpretation of data. |
| Enhanced interaction | Interactive elements foster user engagement and deeper exploration. |
| Streamlined display | Clustering reduces visual clutter, resulting in a cleaner map interface. |
In conclusion, adjusting marker opacity offers numerous advantages when it comes to creating customized map visuals. By employing techniques such as graduated colors, clustering algorithms, and interactive features, users can improve clarity, understanding, engagement, and presentation of information on their maps.
Next Section: Considerations when using marker opacity
Considerations when using marker opacity
Methods for enhancing marker opacity can greatly enhance the visual appeal and effectiveness of customized maps. By adjusting the transparency level of markers, map designers can create visually striking displays that draw attention to specific locations or features on the map. This section will explore various techniques and considerations when using marker opacity.
One method for enhancing marker opacity is by applying a gradual transition in opacity based on certain criteria. For example, let’s consider a hypothetical case study where we have a map displaying different types of businesses in a city. By assigning higher opacity values to popular businesses and lower opacity values to less well-known establishments, users can easily identify areas with high business activity at a glance. This technique not only adds visual interest but also provides valuable insights into the landscape of the city.
When utilizing marker opacity as an enhancement tool, it is important to consider several factors:
- Purpose: Define the purpose of your map and determine how enhanced marker opacity aligns with achieving your objectives.
- Accessibility: Ensure that the chosen levels of opacity do not hinder legibility or make it difficult for users to interpret the information presented.
- Contrast: Find an optimal balance between transparent markers and other elements on the map to maintain sufficient contrast for clear visibility.
- User Experience: Test different levels of marker opacity with potential users to gather feedback and refine visuals accordingly.
- Enhancing marker opacity can captivate viewers’ attention and evoke curiosity about specific locations.
- Properly adjusted transparency levels enable seamless integration with other design elements without overwhelming the viewer.
- Carefully thought-out use of gradient transitions in marker opacities creates engaging visual narratives.
- Striking a balance between aesthetics and functionality ensures an enjoyable user experience.
Additionally, incorporating a table showcasing examples of varying marker opacities within different contexts could help convey these concepts more effectively:
| Context | Opacity Level |
|---|---|
| High-density areas | 80% |
| Low-activity zones | 20% |
| Landmarks | 100% |
| Non-relevant points | 0% |
In summary, marker opacity can significantly enhance customized map visuals by drawing attention to specific locations or features. By employing gradual transitions and considering factors such as purpose, accessibility, contrast, and user experience, designers can create visually compelling maps that effectively convey information. In the following section, we will explore best practices for creating customized map visuals that go beyond marker opacity to optimize user engagement and comprehension.
Best practices for customized map visuals
Marker opacity is a powerful tool that can greatly enhance the visual impact of customized maps. By adjusting the transparency of markers on a map, users can create unique and visually appealing displays that effectively convey information. In this section, we will explore some best practices for utilizing marker opacity in order to achieve compelling map visuals.
Considerations when using marker opacity:
One important consideration is the balance between visibility and clarity. While reducing the opacity of markers can add an artistic touch to the map, it may also make it more difficult for viewers to interpret the data accurately. For instance, imagine a scenario where markers representing different types of crimes are displayed on a map with varying levels of transparency. If the opacity is set too low, it might be challenging for users to distinguish between dense clusters of markers or identify areas with higher crime rates.
To address this concern, one effective approach is to use contrasting colors and sizes along with varying opacities. This allows users to differentiate between different categories while maintaining overall legibility. For example, consider a map showing population density across regions: markers representing highly populated areas could be larger and have less opacity, while those indicating lower population densities could be smaller but more transparent.
Best practices for customized map visuals:
To ensure an engaging user experience, here are some recommended best practices when working with marker opacity:
- Use subtle variations in opacity rather than extreme values; this creates a more balanced and aesthetically pleasing display.
- Experiment with different combinations of color schemes and opacities to find the most effective way to highlight specific features or patterns.
- Consider layering multiple sets of markers with different levels of transparency to provide additional depth and context.
- Regularly test your designs with representative users to gather feedback on readability and understandability.
By following these guidelines, you can harness the power of marker opacity to create captivating and informative custom maps that capture attention and facilitate understanding.
Next up: Examples of marker opacity in action, showcasing practical applications and illustrating the impact it can have on map visuals.
Examples of marker opacity in action
Enhancing the visual appeal and customization of maps requires careful consideration of various design elements. One such element is marker opacity, which can significantly impact the overall aesthetics and functionality of a customized map. By adjusting the transparency of markers on a map, users can create unique visual effects that highlight specific locations or data points.
Consider a hypothetical scenario where an urban planner wants to visualize crime rates in different neighborhoods within a city. By utilizing marker opacity, they can create a layered effect that depicts areas with higher crime rates as more opaque than those with lower crime rates. This approach allows for easy identification of high-risk areas while maintaining an aesthetically pleasing and informative visualization.
When incorporating marker opacity into customized map visuals, it is essential to follow best practices to ensure optimal results:
-
Gradual Opacity: Use varying degrees of opacity rather than stark contrasts between transparent and solid markers. Gradual transitions help maintain continuity in the visual representation and avoid abrupt changes that may confuse viewers.
-
Color Contrast: Consider using contrasting colors alongside marker opacity to enhance visibility and legibility. Combining bold hues with subtle levels of transparency can create visually striking maps that effectively convey information without overwhelming the viewer.
-
Data Representation: Align marker opacity with relevant data values to establish meaningful associations. For example, if displaying population density on a map, setting higher opacities for areas with denser populations will provide clearer insights at a glance.
-
User Experience Considerations: Keep in mind how marker opacity affects user interactions with the map interface. Ensure that text labels or other important features are not obscured by highly opaque markers, as this could hinder readability and usability.
To further illustrate the impact of marker opacity on customized map visuals, consider the following examples:
| Example | Marker Opacity (%) | Description |
|---|---|---|
| 1 | 0% | Fully transparent markers allow underlying geographical features to be prominently visible. |
| 2 | 50% | Partially transparent markers strike a balance between visibility and highlighting specific locations. |
| 3 | 75% | Moderately opaque markers emphasize certain data points while maintaining clarity of surrounding areas. |
| 4 | 100% | Fully opaque markers draw immediate attention to specific information, making them ideal for critical data representation. |
In summary, marker opacity is a valuable tool in enhancing customized map visuals. By applying gradual transitions, considering color contrast, aligning with relevant data values, and prioritizing user experience considerations, users can create visually appealing maps that effectively communicate important information. Incorporating marker opacity into customized map designs allows for efficient visual analysis and aids decision-making processes without compromising aesthetics or functionality.
Comments are closed.